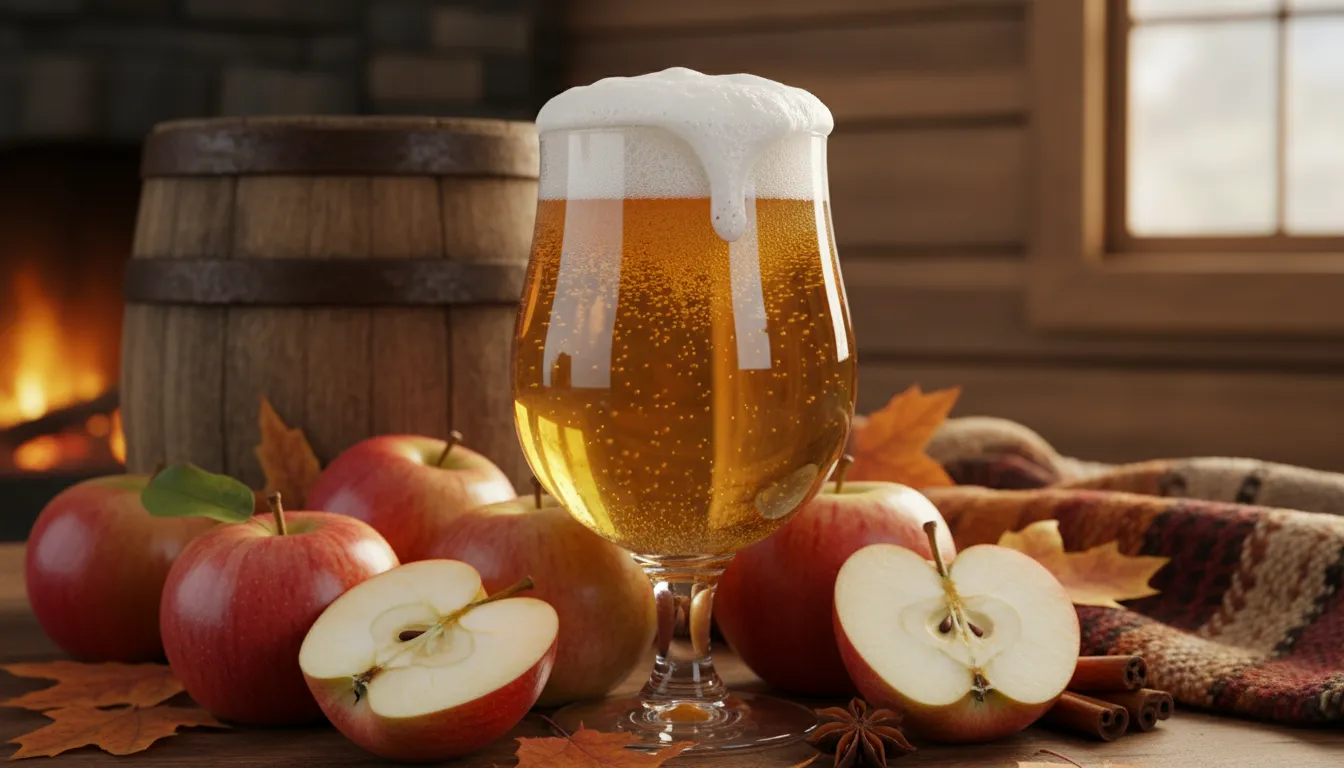
Ever dreamed of sipping your own crisp, refreshing hard cider, crafted right in your kitchen? Learning how to make hard cider from scratch is a deeply rewarding journey—one that transforms simple apple juice into a complex, delicious alcoholic beverage tailored to your taste.
Forget expensive store-bought options. With homemade hard cider, you control:
- Sweetness (dry or dessert-style)
- Carbonation (still, lightly fizzy, or sparkling)
- Flavor profile (classic apple, spiced, or fruit-infused)
This comprehensive guide—born from years of personal brewing and expert insight—walks you through every step, from equipment setup to bottling, ensuring your first batch is a resounding success.
Whether you’re a curious beginner or an experienced homebrewer, this is your roadmap to crafting exceptional cider at home.
Essential Equipment for Making Hard Cider at Home
Before you begin, gather and sanitize these core tools. Cleanliness isn’t optional—it’s the #1 factor in preventing off-flavors and spoilage.
🧪 Basic Brewing Kit
| Item | Purpose |
|---|---|
| Fermentation Vessel | 1-gallon (starter) or 5-gallon food-grade bucket or glass carboy |
| Airlock & Stopper | Lets CO₂ escape while blocking contaminants |
| Siphon or Auto-siphon | Transfers cider without disturbing sediment |
| No-Rinse Sanitizer (e.g., Star San) | Non-negotiable for all gear touching cider post-boil |
| Hydrometer + Test Jar | Measures sugar-to-alcohol conversion (tracks ABV) |
| Thermometer | Monitors fermentation temp (critical for yeast health) |
| Bottles + Caps + Capper (or keg) | For final packaging and carbonation |
💡 Pro Tip: Start small (1-gallon batches) to experiment affordably before scaling up.
Choosing Your Ingredients: The Heart of Great Cider
Your cider is only as good as what goes into it. Here’s how to choose wisely.
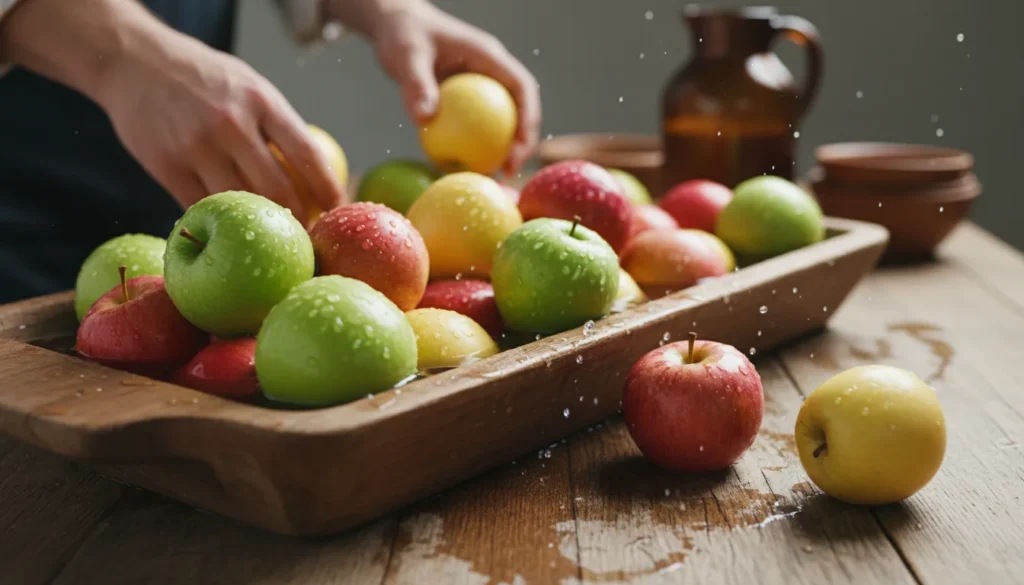
🍎 Apple Juice: The Foundation
- Best option: Fresh, unpasteurized, preservative-free cider (from a local orchard)
- Store-bought alternative: Must be free of potassium sorbate or sodium benzoate (these kill yeast)
- Flavor tip: Blend sweet (Gala, Fuji) and tart (Granny Smith, Pink Lady) apples for balance
❌ Avoid “apple juice cocktail” or anything with added sugar, colors, or preservatives.
🧫 Yeast: The Flavor Architect
Different strains create vastly different ciders:
| Yeast Type | Flavor Profile | Best For |
|---|---|---|
| Cider Yeast (e.g., WLP775) | Crisp, dry, clean apple character | Traditional dry ciders |
| Wine Yeast (e.g., Lalvin EC-1118) | Ferments completely dry; high alcohol tolerance | Strong, dry, sparkling ciders |
| Ale Yeast (e.g., US-05) | Fruity esters; leaves slight sweetness | Approachable, sessionable ciders |
🌾 Beginner recommendation: Lalvin EC-1118—reliable, neutral, and ferments to dryness.
🌿 Optional Additions (Get Creative!)
- Sweeteners: Honey, brown sugar, or maple syrup (boosts ABV or adds nuance)
- Fruits: Cherry, peach, or berry purees (add during secondary fermentation)
- Spices: Cinnamon sticks, cloves, or ginger (steep briefly to avoid bitterness)
- Tannins: Adds structure and mouthfeel (especially if using sweet juice)
Step-by-Step Guide to Making Hard Cider
Follow these steps for a clean, flavorful batch every time.
Step 1: Sanitize Everything
Wash and sanitize all equipment that will touch the cider after fermentation begins. This includes spoons, hydrometer, airlock, and vessel interior. One lapse = potential infection.
Step 2: Prepare the Juice
Pour 1 gallon of preservative-free apple juice into your sanitized fermenter.
- Optional pasteurization: Heat to 160°F (71°C) for 15 min, then cool rapidly (only needed if using raw, unpasteurized juice from unknown sources).
Step 3: Take Original Gravity (OG)
Use your hydrometer to measure sugar content.
- Typical OG: 1.045–1.065
- Record this number—you’ll need it to calculate ABV later.
Step 4: Pitch the Yeast
- Rehydrate dry yeast in warm (95–105°F) water for 15 min
- Gently stir into juice
- Seal fermenter with airlock filled with sanitizer or vodka
Step 5: Primary Fermentation
- Store in a dark place at 60–70°F (15–21°C)
- Bubbling should start in 12–48 hours
- Ferment 1–3 weeks until bubbling slows significantly
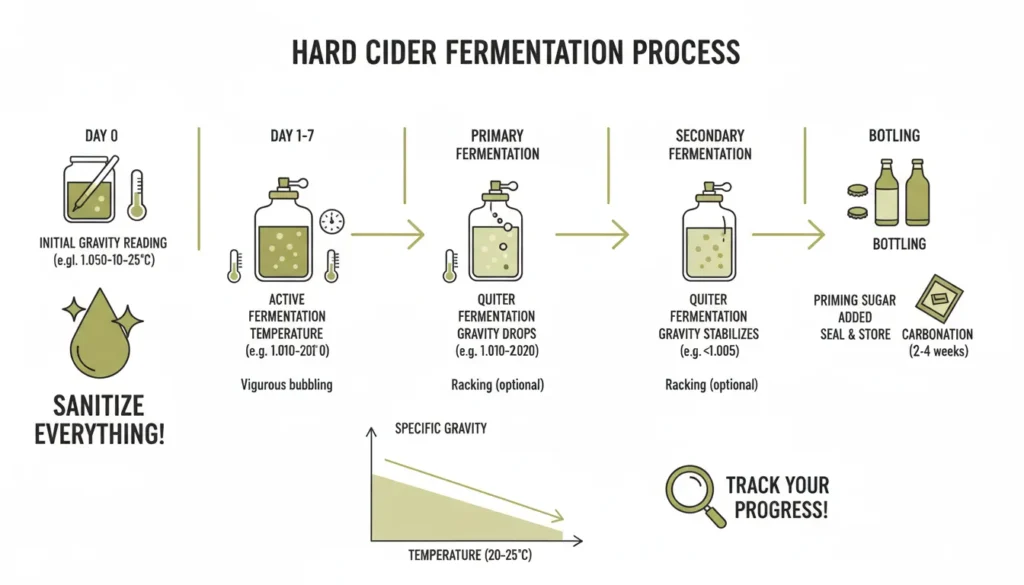
Step 6: Racking (Optional but Recommended)
- Siphon cider into a sanitized secondary vessel, leaving sediment behind
- Allows flavors to mellow and clarifies the cider
- Age 2–4 weeks at cool temps (55–65°F)
Step 7: Final Gravity (FG) & Tasting
- Take FG reading—if stable over 2 days, fermentation is complete
- Typical FG: 0.998–1.005 (dry cider)
- Taste: Is it too dry? Too flat? Now’s the time to adjust.
Step 8: Bottle with Carbonation
To make sparkling cider:
- Dissolve ¾ cup corn sugar (per 5 gallons) in 1 cup hot water
- Add to bottling bucket
- Gently siphon cider on top (avoid splashing)
- Fill bottles, leaving 1 inch headspace
- Cap tightly
🍾 For still cider: Skip priming sugar and bottle directly.
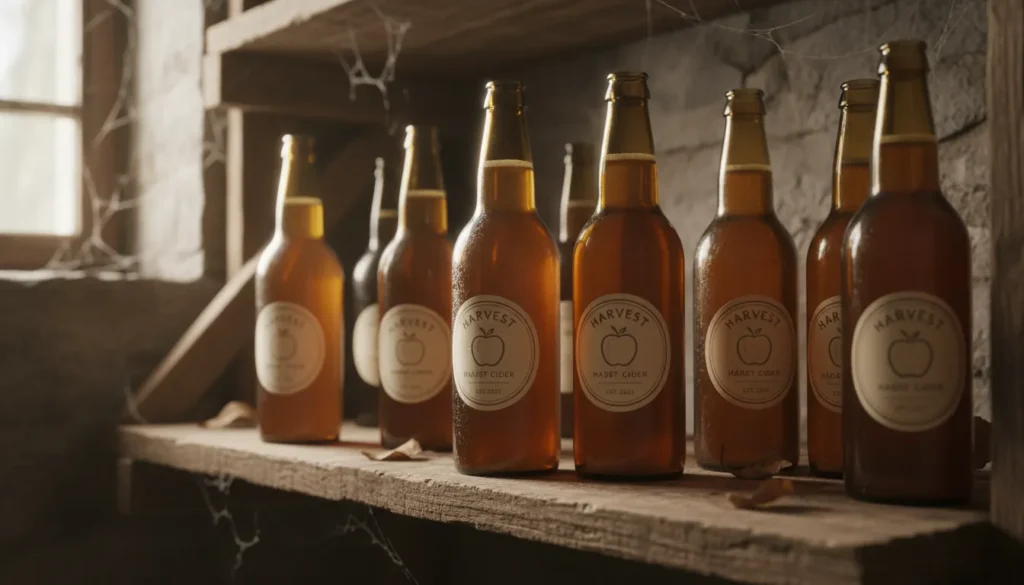
Step 9: Condition & Age
- Store bottles at room temp for 1–3 weeks to carbonate
- Then move to a cool, dark place (cellar or fridge)
- Best flavor: After 4–8 weeks of aging
Troubleshooting Common Issues
❓ No Fermentation?
- Check temp (too cold = slow start)
- Verify no preservatives in juice
- Re-pitch fresh yeast if needed
🤢 Off-Flavors?
- Usually from poor sanitation or temperature swings
- Prevention > cure—sanitize rigorously!
☁️ Hazy Cider?
- Normal in young cider
- Clears with time, cold crashing (refrigerate 48 hrs), or fining agents (e.g., gelatin)
FAQ: Your Top Questions Answered
Q: How long does it take to make hard cider?
A: 4–8 weeks from start to drinkable—but aging improves flavor. Plan for 2 months for best results.
Q: Can I use any apple juice?
A: Only if it’s 100% juice with no preservatives. Read labels carefully!
Q: How do I make sweet cider?
A: Options:
- Use non-fermentable sweeteners (xylitol, erythritol) at bottling
- Pasteurize bottles after adding sugar to stop fermentation
- Back-sweeten just before serving with fresh juice
Q: What’s the ideal fermentation temperature?
A: 60–70°F (15–21°C). Higher temps = faster but riskier (off-flavors); lower = slower but cleaner.
My Expert Opinion
After 15 years of homebrewing, here’s my advice:
Don’t chase perfection—chase personality.
Your first batch won’t taste like Angry Orchard—and that’s okay. The magic of homemade cider is in its uniqueness. Maybe your backyard apples give it a wild funk. Maybe a dash of cinnamon makes it holiday-ready. That’s the point.
My biggest early mistake? Over-sanitizing my creativity. I followed recipes rigidly and missed the joy of experimentation.
So yes—sanitize your gear. But don’t sanitize your curiosity.
Try:
- Wild fermentation (expose juice to air for 24 hrs before pitching yeast)
- Blending apple varieties
- Aging on oak chips
Some of my best ciders came from “happy accidents.”
And remember: Sanitation is sacred. Creativity is king.
For deeper learning, explore yeast strain guides or advanced fermentation techniques.
Conclusion
Making hard cider at home is more than a hobby—it’s a celebration of simplicity, patience, and craft. With just a few ingredients, basic equipment, and attention to cleanliness, you can create a beverage that’s uniquely yours.
From selecting the perfect juice to popping open your first self-carbonated bottle, every step is part of the joy.
So gather your apples, sanitize your gear, and embrace the process.
Your perfect pint of homemade hard cider is waiting to be born.
Cheers to your brewing journey! 🍏🍺