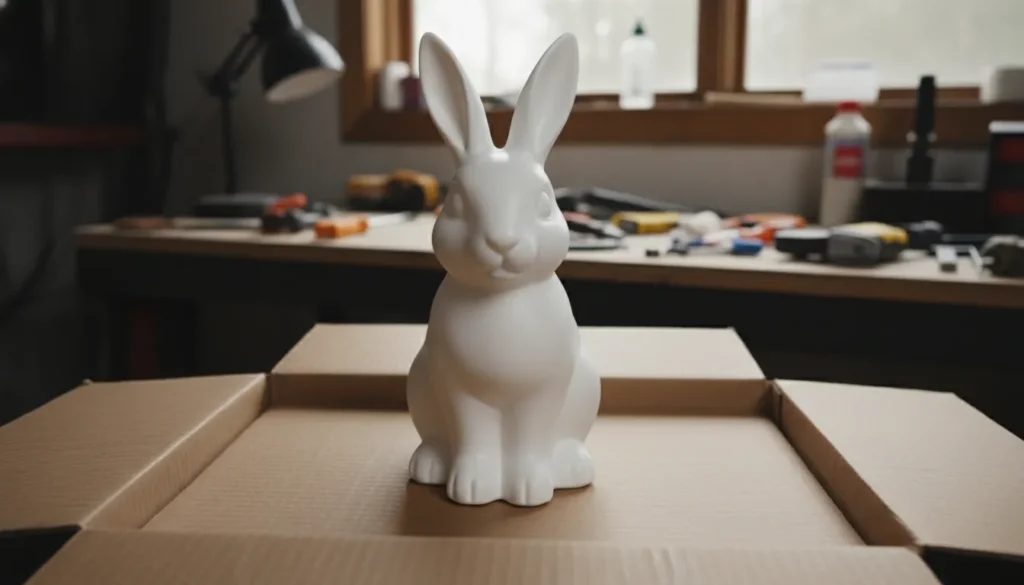
The art of chocolate bunny decoration isn’t just for confectioners anymore—it’s a delightful Easter craft that brings whimsical charm to any spring home. While real chocolate bunnies are a seasonal treat, they melt, attract pests, and disappear in days.
Enter the world of faux chocolate bunnies: durable, reusable, and stunningly realistic decorative pieces that capture the spirit of Easter—without the mess or perishability.
This comprehensive guide will show you how to create non-edible chocolate bunny decorations that look good enough to eat but are built to last. Whether you’re crafting an elegant Easter table centerpiece or upcycling old figurines into festive treasures, mastering DIY faux chocolate rabbits is a game-changer for your holiday decor.
Beyond Edible: The Rise of Decorative Chocolate Bunnies
In recent years, faux sweet treats and artificial chocolate sculptures have surged in popularity. Why? Because they offer:
- Aesthetic appeal without spoilage
- Consistency in color and form
- Long-term usability across multiple Easters
These decorative bunnies are often made from resin, ceramic, or plastic, then meticulously painted to mimic the rich sheen and texture of real chocolate. The result? Realistic-looking candy decor that stays pristine all season—and beyond.
🐰 Perfect for displays, mantels, gift baskets, or photo backdrops—without worrying about heat, humidity, or curious nibblers.
Why Choose Faux Over Real for Your Easter Decorations?
Opting for non-edible chocolate bunnies offers compelling advantages:
| Benefit | Explanation |
|---|---|
| Durability | Won’t melt, crack, or attract ants. Resin or ceramic bunnies withstand handling and display conditions. |
| Longevity | Store them year after year—sustainable and cost-effective over time. |
| Versatility | Customize with paints, glazes, glitter, or distressing for unique styles. |
| Allergy-Friendly | Safe for homes with food allergies—no risk of accidental ingestion. |
| Cost-Effective | Higher upfront cost, but reusable for decades vs. annual repurchasing of edible versions. |
Choosing faux means embracing creativity, sustainability, and stress-free decorating—all while capturing the nostalgic joy of Easter.
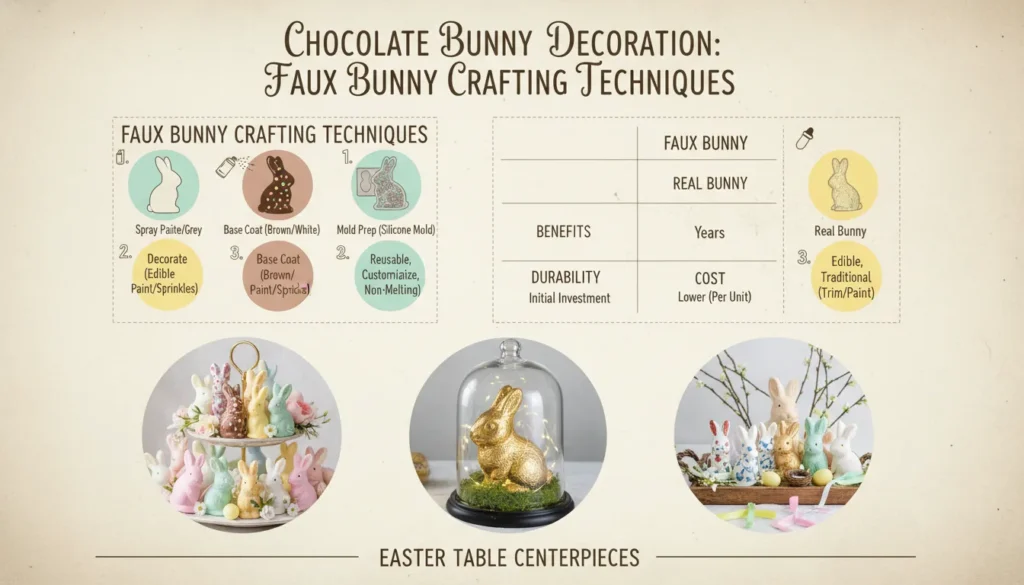
Your Guide to DIY Chocolate Bunny Decoration
Ready to craft your own realistic faux chocolate bunnies? Here are two proven methods—one quick, one advanced—to suit every skill level.
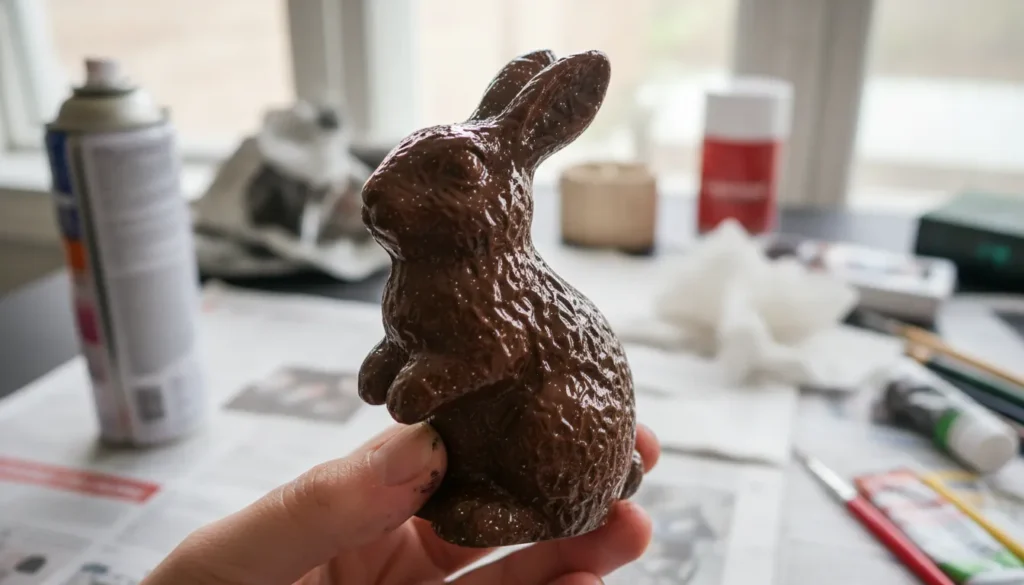
Method 1: The Spray Paint Transformation
(Ideal for upcycling plastic, ceramic, or wooden bunnies)
This is the fastest, most accessible way to create convincing faux chocolate rabbits—perfect for beginners or last-minute decor.
Materials Needed
- Plastic, ceramic, or wooden bunny figurines
- Matte brown spray paint (e.g., “chocolate,” “mocha,” or “espresso”)
- Glossy clear sealant spray
- (Optional) Textured stone-effect spray or crackle finish
Step-by-Step Instructions
- Clean Your Bunnies
Wipe down with rubbing alcohol to remove dust and oils—this helps paint adhere better. - Prime (Optional)
For slick plastic surfaces, apply a light coat of primer to prevent chipping. - Apply Base Color
In a well-ventilated area, spray thin, even coats of matte brown paint. Let each layer dry fully before adding the next.
→ Tip: 2–3 light coats > 1 thick coat (avoids drips and uneven texture). - Add Texture (Optional)
For an artisanal look, lightly mist with textured spray or use a crackle medium to mimic hand-dipped chocolate. - Seal with Gloss
Once dry, apply 1–2 coats of glossy sealant to replicate the signature shine of real chocolate candy. - Cure Fully
Allow 24–48 hours to cure before displaying as part of your Easter table centerpiece.
Method 2: Resin Chocolate Rabbit
(For detailed, professional-grade results)
For those seeking maximum realism and durability, casting your own bunnies in resin delivers museum-quality results.
Materials Needed
- Silicone bunny molds (various sizes)
- Epoxy resin kit (Part A + Part B)
- Brown resin pigment or mica powder
- Mixing cups, stir sticks, gloves, eye protection
- (Optional) Fine glitter or textured powder for candy-like sparkle
Step-by-Step Instructions
- Prepare Your Workspace
Cover surfaces, ensure ventilation, and wear protective gear. - Mix Resin
Follow manufacturer instructions to combine Parts A and B in the correct ratio. Mix slowly to minimize bubbles. - Color the Resin
Add a small amount of brown pigment—start light and build depth. Stir thoroughly. - Pour Into Molds
Gently fill silicone molds. Tap lightly to release air bubbles. - Cure
Let sit undisturbed for 24–72 hours (per product guidelines). - Demold & Finish
Remove bunnies carefully. Sand rough edges if needed. Apply a high-gloss varnish for extra shine.
✨ Result: Heavy, smooth, ultra-realistic “chocolate” bunnies that feel as authentic as they look.
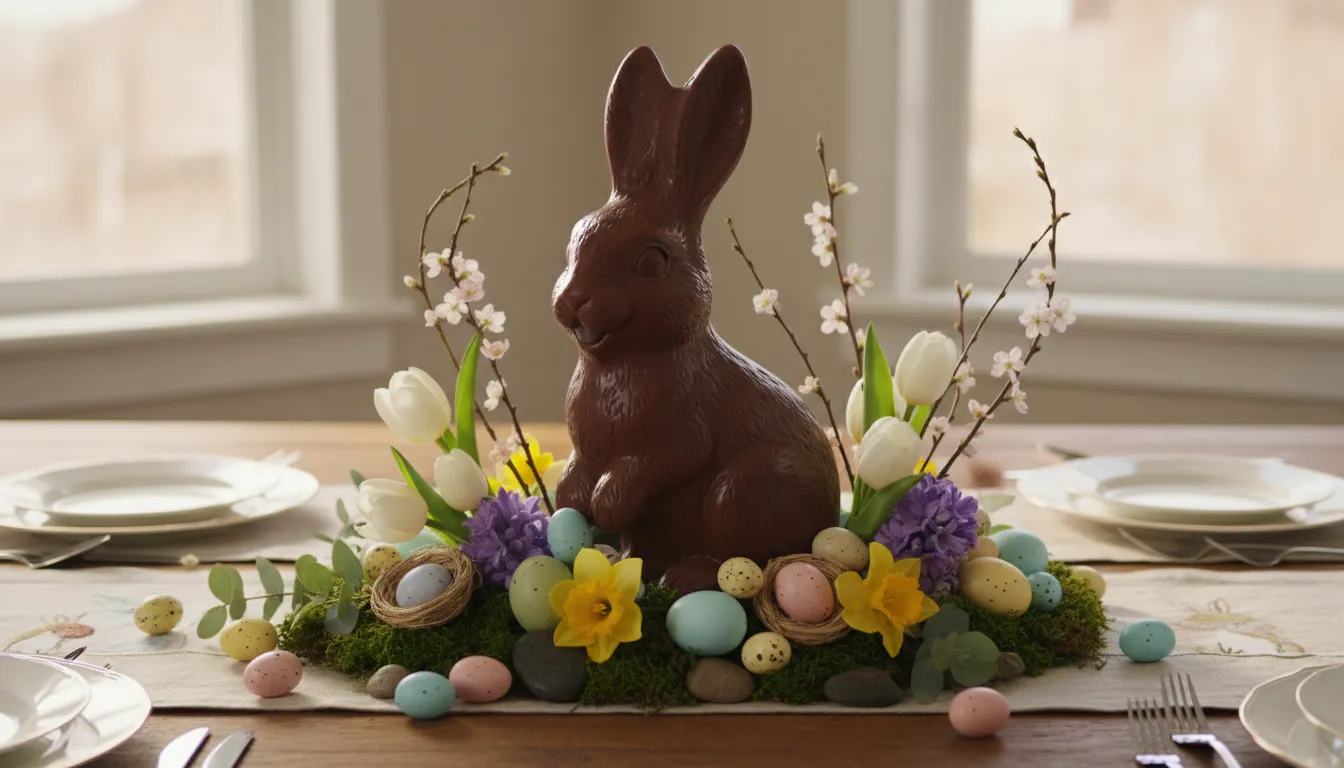
Creative Ideas for Your Easter Table Centerpiece
Now that you’ve crafted your bunnies, it’s time to style them!
🌿 Woodland Wonder
Nestle your bunnies among faux moss, birch branches, and potted primroses for a rustic, enchanted forest vibe.
🍬 Sweet Shop Display
Pair your faux bunnies with fake jellybeans, wrapped caramels, and pastel cellophane in glass jars or on tiered stands.
⚪ Elegant & Minimalist
Place a single, perfectly finished bunny on a white linen runner, surrounded by ivory eggs and eucalyptus sprigs.
🧺 Basket of Bounty
Fill a woven basket with your DIY bunnies, hand-painted wooden eggs, and artificial tulips for a classic Easter tableau.
Frequently Asked Questions About Faux Chocolate Bunnies
Q: How realistic can fake chocolate rabbits look?
A: Extremely realistic! With a matte base + glossy topcoat, they often fool guests at first glance. The key is avoiding overly shiny or flat finishes—real chocolate has depth and subtle variation.
Q: Can I use these for outdoor Easter decor?
A: Resin bunnies are weather-resistant and suitable for covered porches. Spray-painted bunnies should be sealed with an outdoor-rated varnish and kept out of direct rain/sun to prevent fading.
Q: Are there non-toxic options for homes with kids?
A: Absolutely! Use water-based acrylic paints and non-toxic sealants. Even better: start with pre-made brown ceramic bunnies and focus on safe embellishments like ribbons or fabric collars.
My Expert Opinion
After 15 years of designing seasonal displays, I’ve seen countless trends fade—but faux chocolate bunnies endure. Why? Because they blend nostalgia with practicality.
Here’s my “hot take”: Don’t just replicate—elevate.
Instead of mimicking store-bought chocolate exactly, infuse your personality:
- Add a dusting of edible gold luster (even on faux pieces!)
- Create a “vintage” look with light sanding and antique wax
- Mix shades of brown (milk, dark, white “chocolate”) for visual depth
These aren’t just props—they’re heirloom-worthy expressions of joy that tell your family’s Easter story.
Conclusion
Mastering chocolate bunny decoration doesn’t require a candy kitchen—just creativity and the right techniques. By choosing faux over real, you gain:
- Durability
- Reusability
- Creative freedom
Whether you upcycle old figurines with spray paint or cast custom resin bunnies, your handmade creations will become cherished parts of your spring home decor for years to come.
So gather your supplies, embrace the craft, and let your whimsical rabbit decor bring warmth, charm, and lasting beauty to your Easter celebrations.
🐣 Because the best traditions aren’t just eaten—they’re remembered.